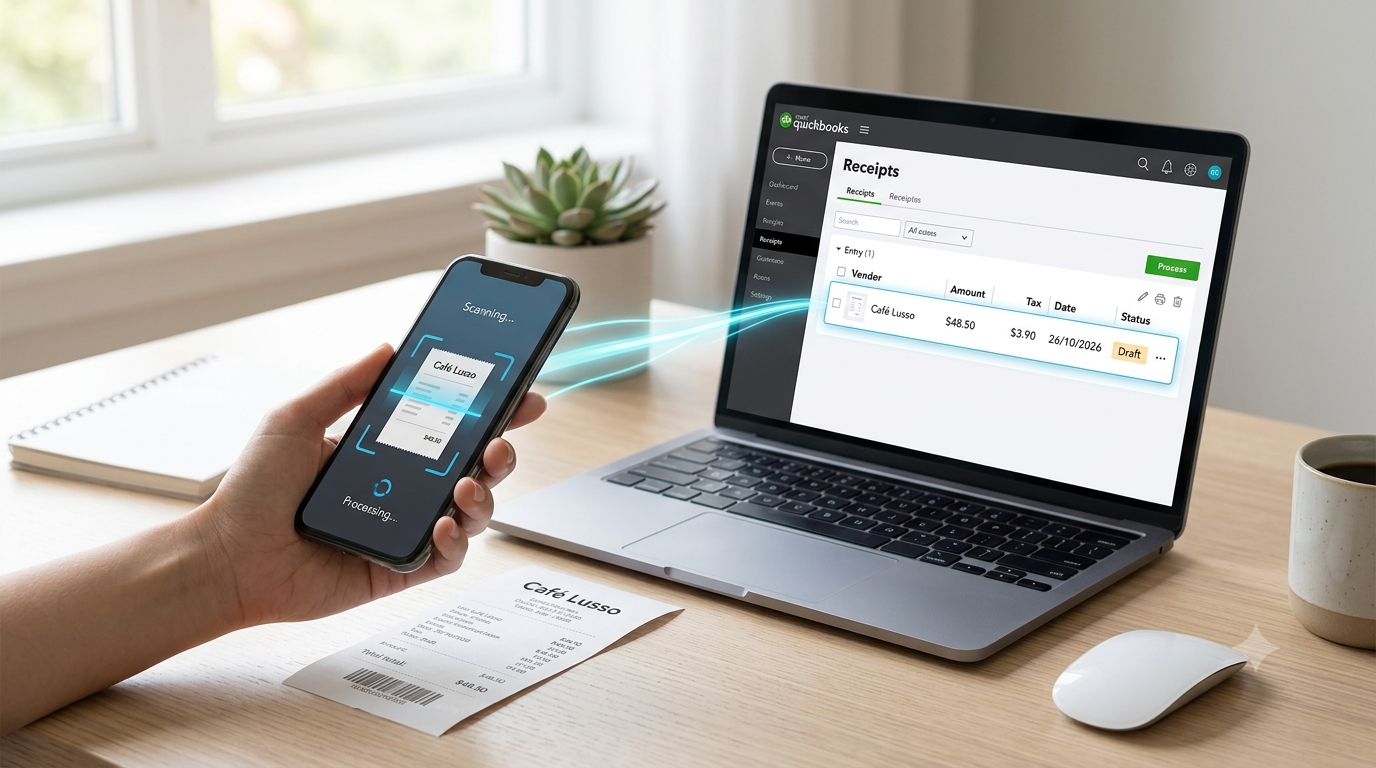
How to Scan Receipts Into QuickBooks Online
12 min read
If you manage receipts for multiple QuickBooks Online clients, the problem is rarely "how do I take a photo?" The real problem is getting receipts from clients, reviewing what QuickBooks captured, coding them to the right COA, and posting without creating cleanup work at month-end.
To scan receipts into QuickBooks Online, use the QuickBooks mobile app, upload receipt files in the Receipts tab, or forward receipts to a custom QuickBooks email address. QuickBooks extracts receipt details, then you review, match, or add the transaction before it becomes part of the books. For firms handling receipts across many clients, a dedicated receipt-to-QuickBooks workflow can reduce client chasing and review bottlenecks.
For a tool-first view, see the QuickBooks receipt scanner page. This article stays focused on the how-to.
The 3 Main Ways to Scan Receipts Into QuickBooks Online
QuickBooks Online gives you a few native ways to capture receipts. The best method depends on who has the receipt, where the receipt starts, and how much review you need before posting.
| Method | Best for | How it works | Watch-outs |
|---|---|---|---|
| QuickBooks mobile app | Clients or staff taking photos on the go | Open the QuickBooks app, use Receipt snap, take a photo, then review it in QuickBooks | Requires app access and client follow-through |
| Web upload | Bookkeepers uploading saved PDFs or images | Upload from computer or Google Drive into the Receipts area | Best when documents are already collected and organized |
| Email forwarding | Clients forwarding receipts from inboxes | Set up a custom QuickBooks forwarding address, then email receipt images to it | Needs clean forwarding rules and user permissions |
| Third-party receipt app | Firms managing higher volume across clients | Collect, extract, review, then sync to QuickBooks Online | Choose carefully; pricing and review workflow matter |
QuickBooks' own help documentation says receipts can be uploaded from a computer or mobile device, and QuickBooks extracts information to create a transaction for review before you edit, add, or match it in the Receipts tab.
Method 1: Scan Receipts with the QuickBooks Online Mobile App
Use this method when the person holding the receipt is already near the transaction. That could be the client, an employee, or someone at the job site.
QuickBooks says mobile receipt capture works through the QuickBooks mobile app on iOS or Android. The basic flow is: open the app, go to the menu, select Receipt snap, use the receipt camera, take the photo, then save it for review.
Steps
- Open the QuickBooks mobile app.
- Tap the menu.
- Select Receipt snap.
- Choose the receipt camera.
- Take a clear photo of the receipt.
- Confirm the image.
- Review the receipt in QuickBooks before adding or matching it.
Best Practices for Bookkeepers
Do not train clients to "snap and forget." Train them to submit readable receipts.
Ask for:
- One receipt per photo.
- Full receipt visible.
- No folded totals.
- No cropped vendor name.
- No blurry images.
- No credit card numbers or sensitive details visible.
This matters because the receipt image is only the intake step. The bookkeeper still has to review vendor, date, total, payment account, category, class, location, customer, and billable status when needed.
When This Method Works Well
The mobile app is useful for simple clients with low volume. It works well when the client already uses QuickBooks Online and has the discipline to capture receipts as they spend.
Where It Breaks Down
It breaks down when you manage many clients and every client behaves differently. One client sends photos by text. Another forwards Amazon receipts. Another drops 80 PDFs on the last day of the month. Native receipt capture can help with individual receipts, but it does not solve the full collection problem for a bookkeeping firm.
If your bigger issue is the path from receipt to posting, read the receipt to QuickBooks workflow page.
Method 2: Upload Receipt Files from Your Computer
Use web upload when receipts are already saved on your computer, in a client folder, or in Google Drive.
QuickBooks currently supports uploading receipts from a web browser through All apps → Accounting → Receipts, then choosing upload from computer or Google Drive. QuickBooks also notes that each file should include only one receipt.
Steps
- Sign in to the correct QuickBooks Online company.
- Go to All apps.
- Go to Accounting.
- Open Receipts.
- Choose Upload from computer or Upload from Google Drive.
- Select the receipt file.
- Upload it.
- Go to the review queue.
- Match it to an existing transaction or add it as a new expense.
Supported File Types
QuickBooks lists PDF, JPEG, JPG, GIF, and PNG as supported receipt formats. It also notes that newer iPhone or iPad HEIC images may need to be converted before upload.
Best Practices for Firms
Create a client naming standard before upload. For example:
ClientName_2026-07_Receipts_BankCard
This keeps cleanup easier when the client sends a messy batch. It also helps the reviewer understand whether the receipt belongs to checking, credit card, reimbursements, job costs, meals, travel, or owner draw cleanup.
For multi-client firms, do not dump receipts directly into QuickBooks without a review habit. Uploading is not the same as closing the books.
Method 3: Email Receipts Into QuickBooks Online
Email forwarding is useful when receipts already live in a client inbox.
QuickBooks lets users create a custom forwarding email address ending in @assist.intuit.com. The user can then forward receipt or bill images to that address. QuickBooks says it extracts details like dates and amounts, then the receipt can be edited, added to an account, or matched to an existing transaction in the Receipts menu.
Steps
- In QuickBooks Online, go to All apps.
- Go to Accounting.
- Open Receipts.
- Select Forward from email.
- Create the custom forwarding address.
- Confirm it.
- Forward receipt images to that address.
- Review the results in the Receipts tab.
QuickBooks says the forwarding setup requires an active QuickBooks Online subscription, standard user permissions with at least Vendor access, receipt photos in supported formats, and a custom forwarding address.
When Email Forwarding Works Well
Email forwarding is good for vendor receipts that already arrive by email, such as software subscriptions, online orders, fuel cards, travel, and recurring vendor purchases.
It is also useful when clients refuse to log in to a portal but will forward an email.
Where Email Forwarding Gets Messy
Email forwarding gets messy when:
- Clients forward multiple unrelated documents.
- Receipts have missing attachments.
- The email body contains the details but no image.
- The receipt belongs to the wrong client file.
- The same receipt was already uploaded another way.
- The transaction has already come through the bank feed.
For a small client, this is manageable. For 20, 50, or 100 clients, it becomes another inbox to police.
Method 4: Use a Receipt Scanning App That Connects to QuickBooks Online
A third-party receipt app makes sense when native QuickBooks capture is not enough.
This is usually the case when the firm needs a controlled workflow across many clients, not just a way to take receipt photos.
Look for a receipt app that supports:
- Client document collection.
- Receipt and invoice upload.
- Line-item extraction.
- Confidence scoring.
- Human review before posting.
- Duplicate detection.
- QuickBooks Online sync.
- Flat pricing that does not punish you for adding clients.
This is where ScribeosAI fits.
ScribeosAI is built for bookkeepers and small CPA firms that need a QuickBooks-first receipt and invoice automation workflow. Clients send documents through a collection flow. ScribeosAI extracts the data, including line items, shows confidence scoring, lets your team review before posting, checks for duplicates at the push gate, then syncs to QuickBooks.
That matters because the bookkeeping risk is not only "can the receipt be scanned?" The risk is bad posting. Wrong vendor. Wrong category. Wrong client. Duplicate expense. Missing line items. Cleanup later.
If you are comparing options, the receipt scanner comparisons hub is the best starting point. For firms currently evaluating common tools, see the Dext alternative and Hubdoc alternative pages.
The Review Step Is Where Bookkeepers Win or Lose Time
Scanning receipts into QuickBooks Online is not the finish line.
The review step is where the books either stay clean or become cleanup work.
Before you add or match a scanned receipt, check:
Vendor Is it the correct vendor, or did the scan pick up a payment processor, marketplace, or card name?
Date Does the receipt date match the bank feed transaction date closely enough to support the match?
Amount Does the total include tax, tip, shipping, discount, or partial payment?
Payment account Is it checking, credit card, reimbursement, owner paid, or another clearing account?
Category or COA mapping Does this belong to meals, supplies, COGS, repairs, subscriptions, job materials, or another account?
Class, location, customer, or project If the client uses classes or job costing, do not skip this.
Billable status If the receipt should be billed back to a customer, catch it now.
Duplicate risk Check whether the same receipt was uploaded, emailed, and pulled through the bank feed.
This is why a review-before-post workflow matters. Fast extraction is useful. Controlled posting is what protects the close.
Recommended Workflow for Bookkeeping Firms
For a bookkeeping firm, the best workflow is not one single scanning method. It is a standard operating process.
Use this structure:
1. Pick One Intake Path Per Client
Do not let every client use five methods.
Choose one primary method:
- QuickBooks mobile app for low-volume, hands-on clients.
- Email forwarding for clients who live in their inbox.
- Shared upload folder for clients who batch documents.
- ScribeosAI collection flow for firms that want one controlled process across many clients.
2. Set the Receipt Rules in Onboarding
Tell clients exactly what to send.
Use rules like:
- Send receipts weekly.
- One receipt per image.
- Send invoices and receipts separately.
- Do not send personal receipts unless marked owner-paid.
- Include job or customer name when needed.
- Do not wait until month-end.
This reduces chasing later.
3. Review Before Posting
Never treat extraction as approval.
The bookkeeper or reviewer should confirm the fields, COA, match, duplicate status, and client-specific rules before pushing anything to QuickBooks.
4. Match to Bank Feed When Possible
If the bank transaction already exists, match the receipt to the existing transaction. If no match exists and the receipt represents a real expense, add it as a new transaction.
5. Reconcile the Receipt Process During Close
During month-end close, check:
- Receipts missing for uncategorized transactions.
- Uploaded receipts still sitting in review.
- Duplicate expenses.
- Owner-paid receipts.
- Vendor invoices posted as expenses.
- Receipts coded to uncategorized expense.
- Receipts missing class, location, or customer.
The goal is not a full folder. The goal is clean books.
When Native QuickBooks Receipt Capture Is Enough
Native QuickBooks receipt capture is enough when:
- The client has low receipt volume.
- The client is disciplined.
- You manage only a few QBO files.
- Line-item detail is not important.
- You do not need a firm-wide intake process.
- You are comfortable reviewing inside each client file.
In that case, use the QuickBooks app, web upload, or email forwarding. Keep it simple.
When to Add ScribeosAI
Add ScribeosAI when receipt handling becomes a firm workflow problem.
That usually happens when:
- You manage many QuickBooks Online clients.
- Clients send receipts through too many channels.
- Month-end close depends on chasing missing documents.
- You need line-item extraction.
- You want confidence scoring before review.
- You need duplicate detection before syncing.
- Per-client pricing makes growth expensive.
- Your team wants one review queue before posting to QuickBooks.
VNB Consulting reduced manual data entry time by 90% using ScribeosAI. Diya Hospitality is also a named customer. The common pattern is simple: higher document volume needs a workflow, not just a scanner.
FAQ
How do I scan receipts into QuickBooks Online?
You can scan receipts into QuickBooks Online with the QuickBooks mobile app, upload receipt files from your computer or Google Drive, or forward receipt images to your custom QuickBooks email address. After upload, review the receipt and either match it to an existing transaction or add it as a new one.
Can I scan receipts with the QuickBooks Online mobile app?
Yes. Use the QuickBooks mobile app and select Receipt snap. Take a clear photo of the receipt, save it, then review it in QuickBooks before matching or adding the transaction.
Can clients email receipts directly to QuickBooks Online?
Yes. QuickBooks Online supports a custom forwarding email address ending in @assist.intuit.com. Clients or authorized users can forward supported receipt images there, then the receipts appear for review in QuickBooks.
What file types can I upload for receipts in QuickBooks Online?
QuickBooks lists PDF, JPEG, JPG, GIF, and PNG as supported receipt upload formats. Each file should contain one receipt for the cleanest review process.
Does QuickBooks Online automatically enter receipt details?
QuickBooks extracts receipt details and creates a transaction for review. You still need to check the vendor, date, amount, account, category, and match before posting.
Should I match receipts or add them as new transactions?
Match the receipt when the bank or credit card transaction already exists in QuickBooks. Add it as a new transaction only when the expense is not already in the books.
What is the best way for bookkeepers to collect receipts from clients?
The best method is the one your clients will actually follow, but firms should standardize intake. For low volume, native QuickBooks capture may be enough. For many clients, use a controlled workflow with document collection, extraction, review, duplicate detection, and QuickBooks sync.
Is a receipt scanning app better than QuickBooks native receipt capture?
Not always. QuickBooks native capture is fine for simple, low-volume clients. A receipt scanning app is better when your firm needs multi-client collection, line-item extraction, review controls, duplicate checks, and predictable pricing.